A cut dog paw pad bleeds more than almost any other minor injury a dog picks up, and it usually happens away from home. On a trail, in a parking lot, in the backyard on a piece of glass you never saw.
This guide covers how to grade the cut, stop the bleeding, clean and bandage a paw that resists bandaging, and decide when a vet visit stops being optional. If your dog is bleeding right now, apply firm pressure with clean gauze or cloth and read the severity check first.
⏱ 10-minute read | Updated September 2026 | Reviewed by Pawprint Oxygen Veterinary Team | Browse more articles →
Table of Contents
What a Cut Paw Pad Actually Is
Your dog stands on a set of digital pads, a large central metacarpal pad on each front paw (metatarsal on the rear), and a carpal pad higher up the front leg. Pads are thick keratinized tissue over fatty cushioning, with a dense blood supply and no hair.
That blood supply is why pad cuts bleed hard for their size, which frightens owners into overestimating some injuries and underestimating others. Pads also heal slowly. They bear weight with every step, they touch the ground constantly, and there is no way to keep the wound still.
Veterinary wound literature describes how a pad spreads under load, pulling an unsupported cut wider with each step.
The word "cut" covers five different injuries: a clean laceration, an abrasion, an avulsion (a loose flap of tissue), a puncture, and a burn or blister. Treatment diverges by type. The carpal pad is injured often and checked rarely, so include it in every inspection.

How Deep Is the Cut? A One-Minute Severity Check
Before you clean anything, grade the injury. Most first-aid advice skips straight to "clean and wrap," which leaves you treating a wound you haven't assessed. Each tier below comes with an action, and the whole check takes under a minute.
1) Superficial: Home Care
A surface scrape or shallow cut. The pad is intact, the wound oozes rather than flows, and your dog still puts weight on the paw. Control the bleeding, clean it, protect it, and monitor. This tier stays home unless it changes.
2) Moderate: Same-Day Vet
A full-thickness cut through the pad, steady bleeding, a visible flap, or a dog holding the paw up but otherwise stable. Full-thickness pad lacerations carried a roughly sevenfold higher risk of major short-term complications than partial-thickness injuries in a study of 120 dogs. Stabilize it, then get a same-day appointment.
3) Severe: Emergency Vet Now
A gaping or flapping pad, blood at an arterial pace, an embedded object, exposed tissue below the pad, a deep puncture, or any bleed that has not slowed after 10 to 15 minutes of proper pressure. VCA lists uncontrolled bleeding at that mark as an emergency. Wrap firmly and go.
Two objective signals help you grade honestly. The weight-bearing test: a dog still walking on the paw after the first shock has passed is usually in the lower tiers. The gum check: gums should be pink. Pale, white, or bluish gums signal a bigger problem, and our guide to cyanosis in dogs and cats covers what those colors mean.
One case deserves its own line: the torn pad with no blood. Flaps and deep punctures often bleed very little, and punctures carry the highest infection risk of any pad injury. Grade by depth and tissue damage. Blood volume is the least reliable signal a pad wound gives you.
Certain factors push any tier up a level regardless of depth: glass, road salt or ice-melt chemicals, hot asphalt, and any puncture that has closed over dirt.


Injuries Owners Mistake for a Simple Cut
A pad flap, or avulsion, looks like a cut with a loose lid. Resist tucking the flap back down at home. Detached pad tissue usually needs veterinary trimming or surgical securing, and a flap pressed over debris seals infection in.
Blisters and burns from hot pavement or ice-melt chemicals present as raw, "cut-looking" pads, but they are thermal or chemical injuries and need different care. Peeling or sloughing pads across multiple paws usually point to a chemical, burn, or systemic cause rather than trauma, and that belongs in its own conversation with your vet.
Punctures are the sleeper. The smallest visible wound, the deepest track, the highest infection risk. And a broken nail or injured quick bleeds enough to be misread as a pad cut, so confirm where the blood is coming from before you treat.
How to Stop Dog Bleeding in the Field
This is the acute moment, and it starts with safety. A dog in pain will bite the person it loves most. Use a muzzle or an improvised wrap of gauze or a leash around the snout, and recruit a second person to hold the dog if you can.
Having a dog wound spray or hemostatic product within reach helps, but pressure comes first.
Apply direct pressure correctly: clean gauze or cloth against the wound, firm and continuous, for five full minutes. Do not lift the gauze to peek. Peeking tears the forming clot loose and restarts the bleed. If blood soaks through, add fresh layers on top of the first rather than removing it.
Elevation can help, though a paw sits so far from the heart that its effect is modest. A snug pressure wrap over the gauze is the next step for a stubborn bleed.
A tourniquet almost never belongs on a pad wound. Veterinary guidance reserves that level of intervention for severe arterial bleeding, and warns that narrow tourniquets risk nerve and vessel damage, favoring a pressure wrap or pneumatic cuff instead.
1) Styptic Powder, Hemostatic Spray, or Pressure Alone
Hemostatic products differ by design. Styptic powder was built for nail quicks: it stings, and it cakes into fur around a larger wound. Chitosan-based hemostatic sprays work differently.
Research on chitosan shows its clot-forming effect operates independently of the blood's classical clotting pathways, meaning the material forms a physical barrier at the wound surface. That finding comes from laboratory work on the material itself rather than studies in dogs.
Our HemoSEAL Critical Pet Wound Spray is the chitosan option we make: sting-free, and it won't glue itself to fur. We covered how the spray controls bleeding in more depth if you want the mechanism.
Plain pressure remains the foundation either way. A hemostatic product buys speed and holds a wound that pressure alone struggles with, which matters on a body part this hard to bandage and impossible to keep still.
2) When Bleeding Becomes Shock
Watch for pale or white gums, a rapid weak pulse, cool paws and ears, or collapse. These are signs blood loss is outrunning the body, and they mean transport now.
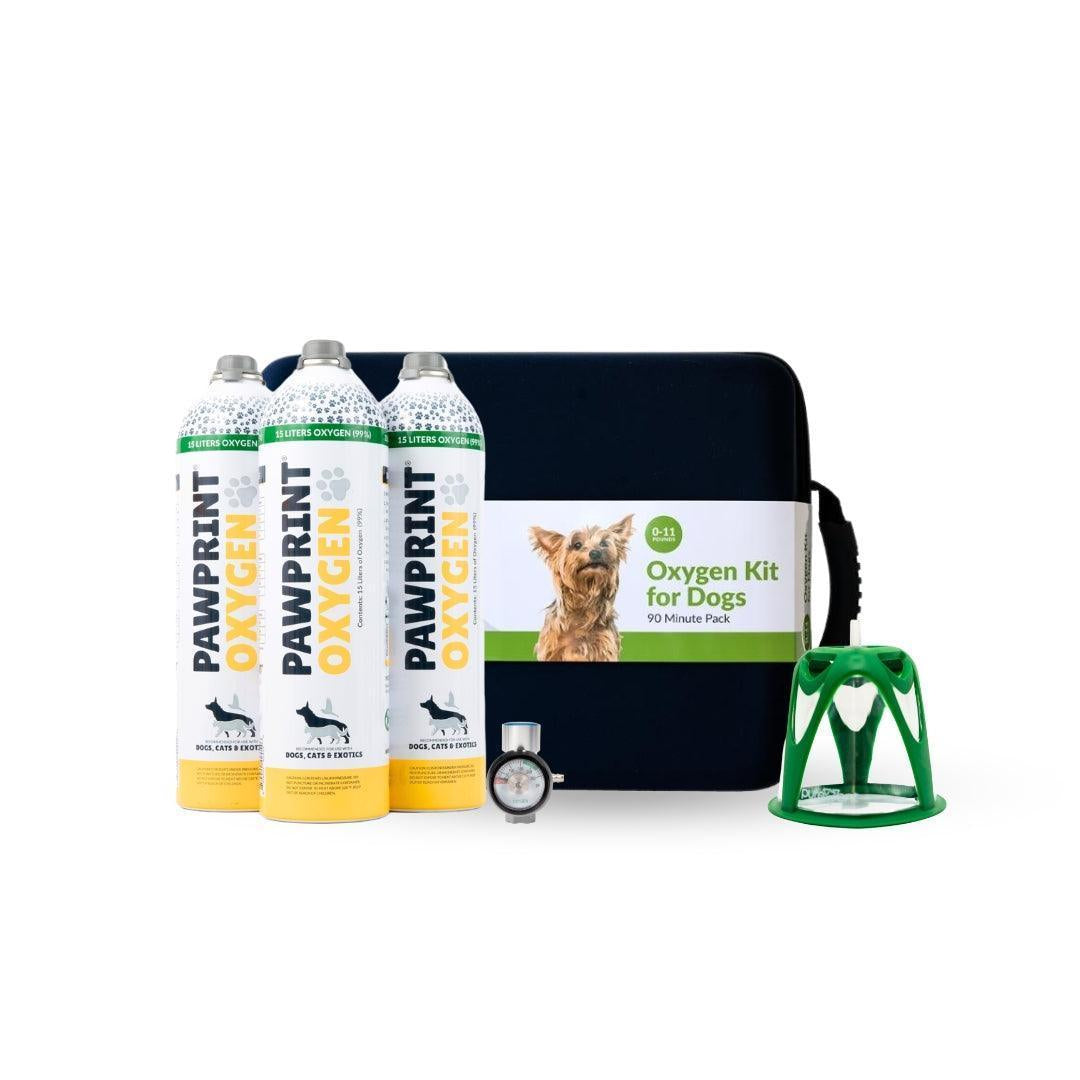
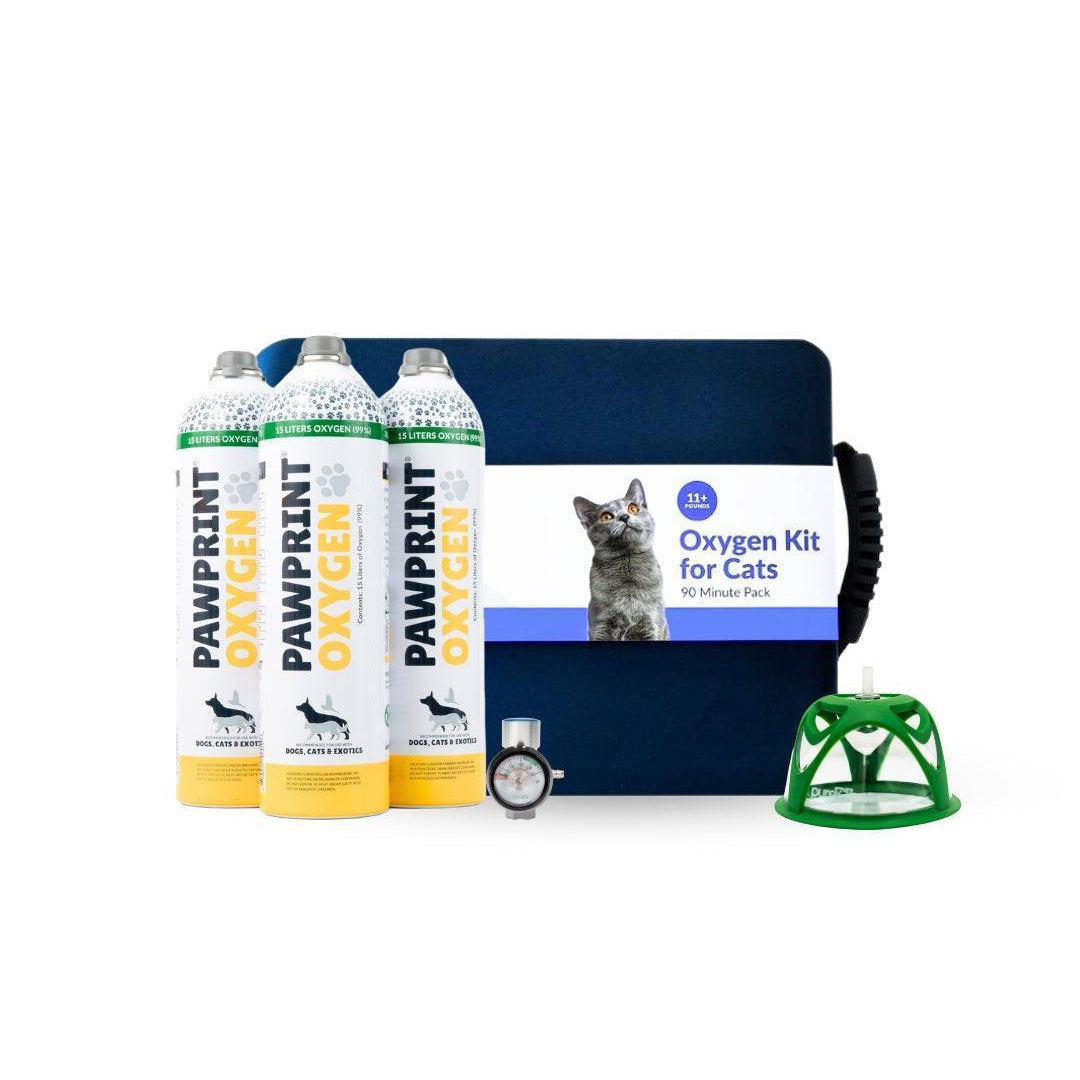
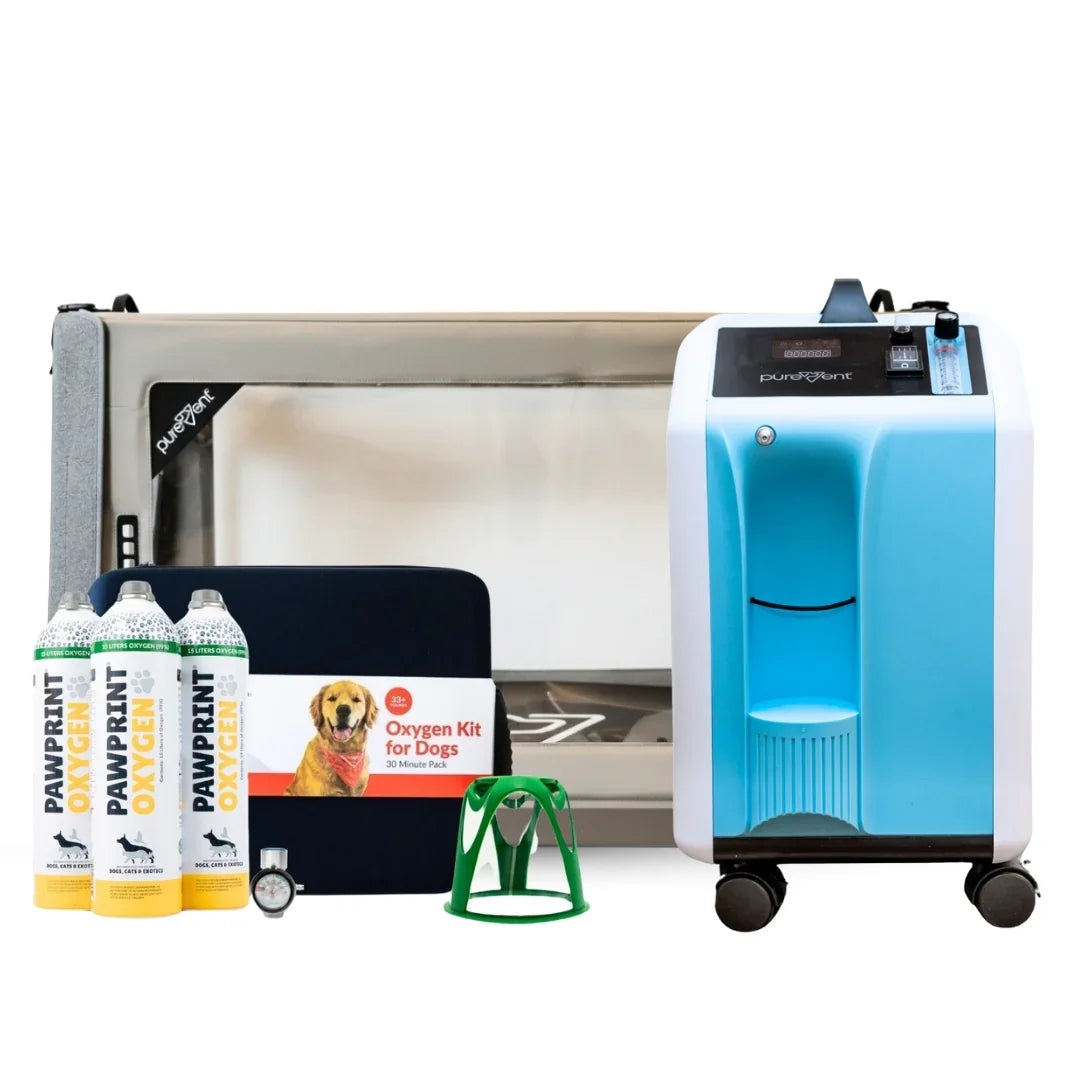
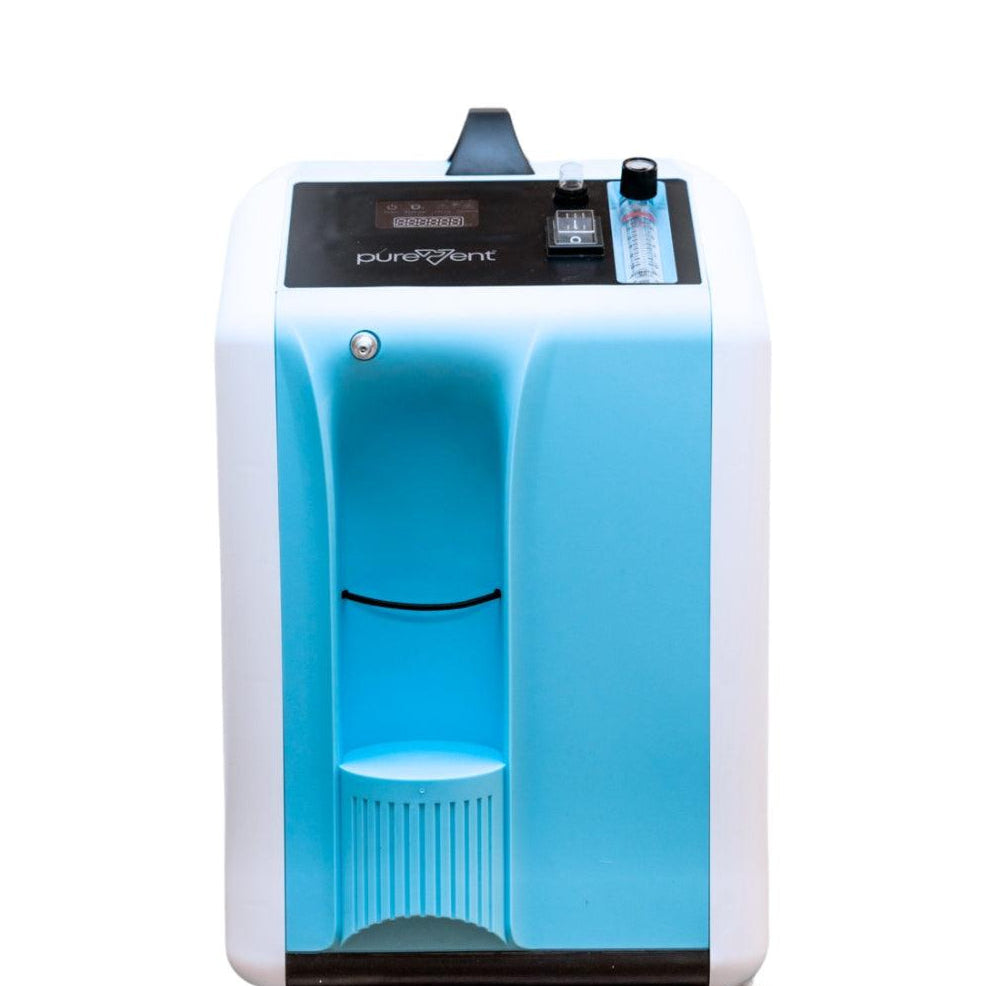
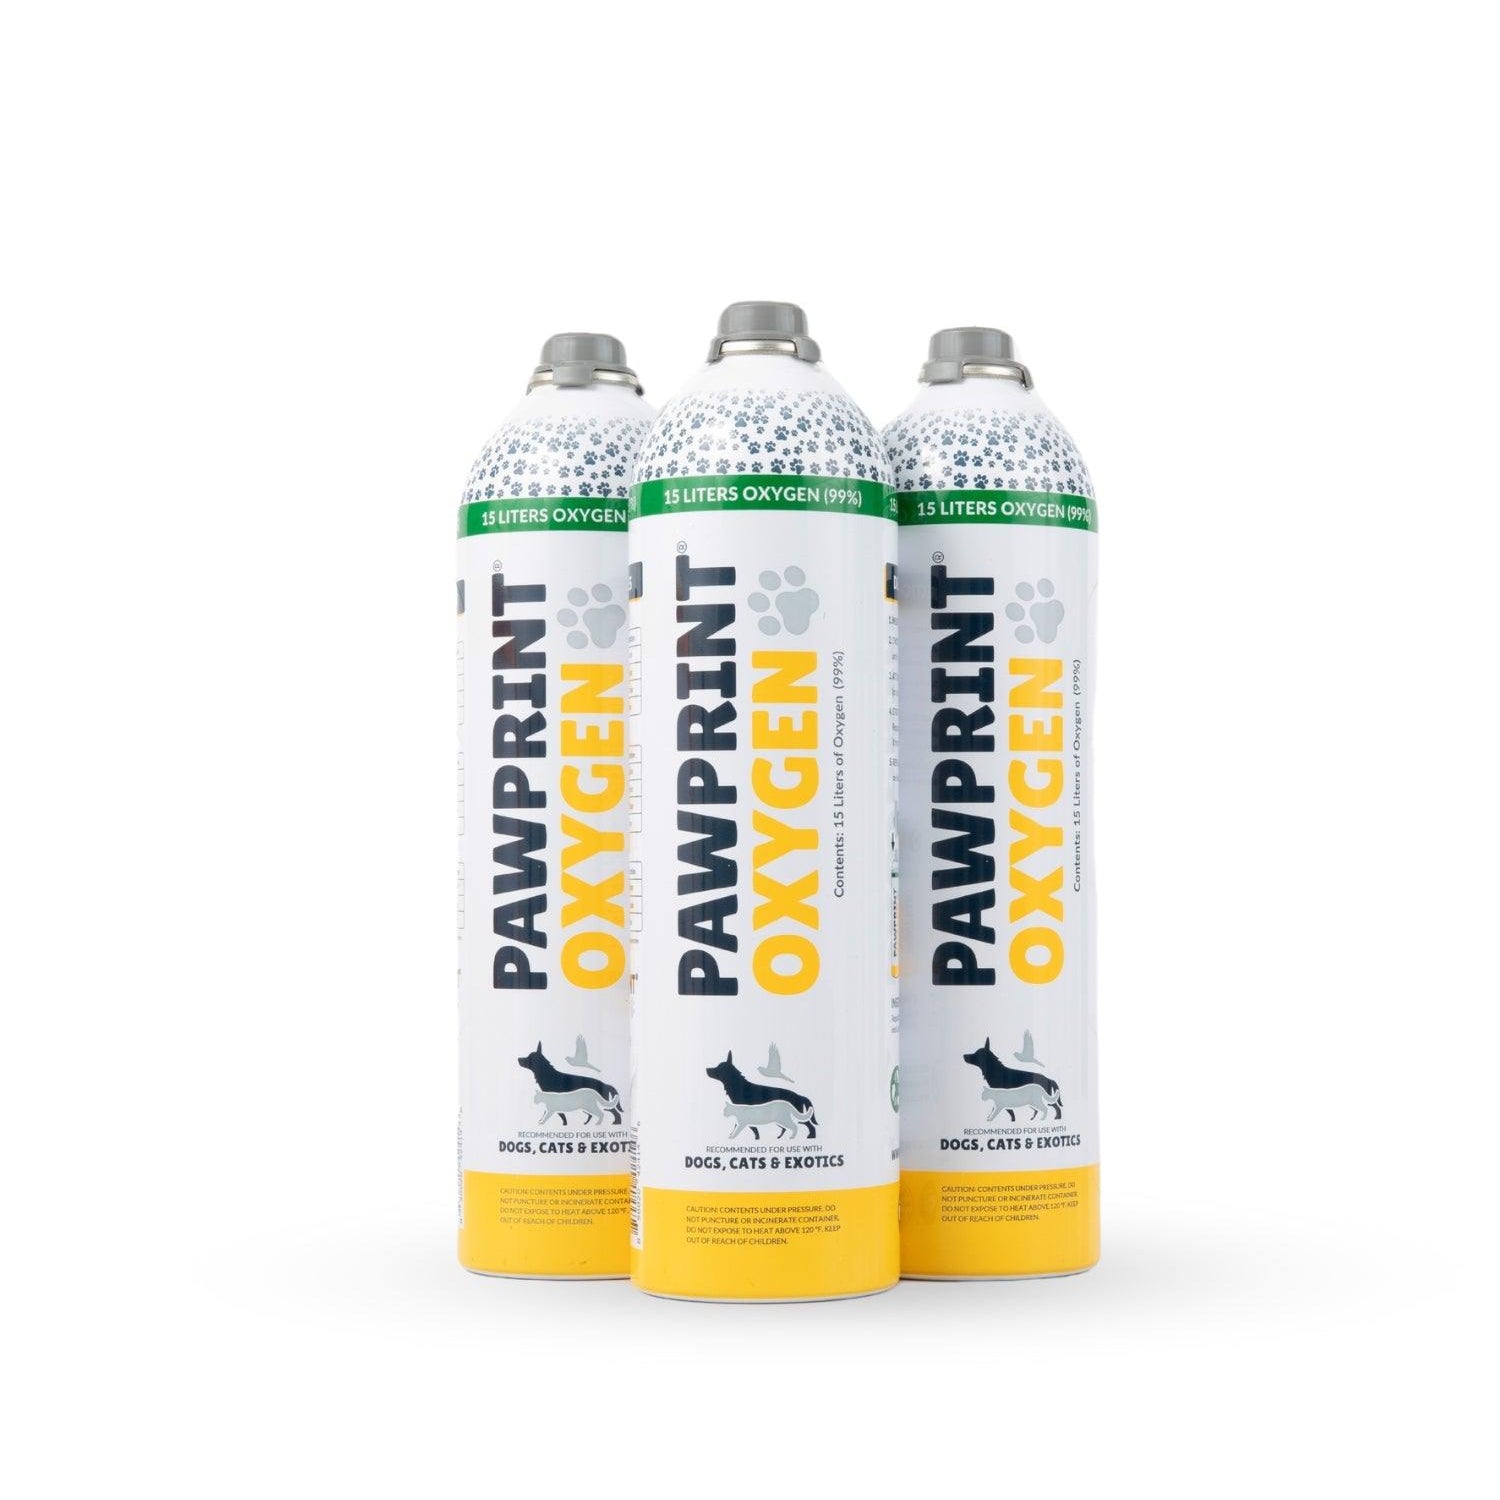
Emergency oxygen from a Dog Rescue Oxygen Kit can reduce respiratory strain and buy time on the drive while your veterinarian takes over. Our oxygen bundles exist for households that want that margin on hand. Oxygen supports a struggling dog in transit; the veterinarian addresses the blood loss itself.

Cleaning and Assessing the Wound
Sequence matters: bleeding first, cleaning second. Flushing a wound that hasn't clotted restarts the bleed, and it is the most common mistake owners make.
Flush with sterile saline or clean lukewarm water, using gentle pressure from a syringe or squeeze bottle rather than scrubbing. Merck's veterinary guidance identifies 0.9% saline as the least damaging option for healing tissue, with dilute chlorhexidine as a safe antiseptic alternative.
Skip hydrogen peroxide, rubbing alcohol, and undiluted iodine. Peroxide kills the fibroblast cells a wound needs to rebuild itself, and all three are painful on open tissue.
Can you put Neosporin on a cut paw pad? It's a fair question, and the honest answer is that a pad is a poor match for it. The ointment sits on a surface that bears weight, gets licked, and lives under a bandage where a greasy layer traps moisture. Your veterinarian can prescribe an antibiotic approach suited to a pad if the wound needs one, so leave that decision to them.
Remove loose grit and any glass sitting visibly at the surface. Leave embedded objects alone. Pulling a deeply lodged object can restart heavy bleeding, and VCA advises leaving that extraction to a veterinarian.
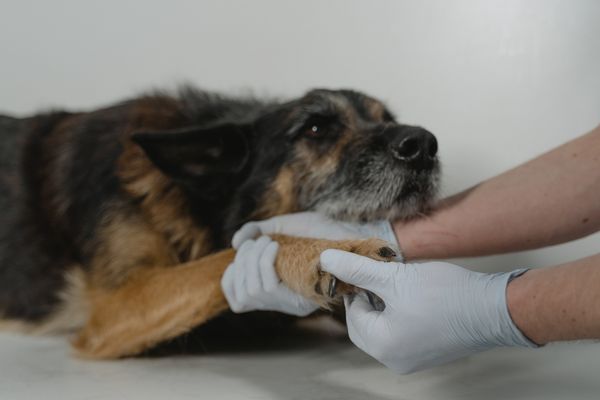
Finish the assessment before you wrap. Check between every toe and through the webbing, where a second wound hides more often than you'd expect, and inspect all the pads on that leg including the carpal pad.
Bandaging a Paw That Won't Stay Bandaged
Paw bandages fail for predictable reasons, and each step below closes one of them. You'll need a non-adherent pad, rolled gauze, self-adhesive wrap (vet wrap), and medical tape.
Place the non-adherent pad over the wound so the dressing doesn't fuse to it.
Tuck a small strip of padding between the toes to prevent moisture and rubbing.
Wrap rolled gauze from the toes upward, distal to proximal, overlapping each pass by half.
Include the two middle toes at the bandage's edge when possible, so the wrap has an anchor point and doesn't slide off.
Extend the wrap above the carpus (the wrist) so it anchors on the leg rather than the paw alone.
Finish with self-adhesive wrap and a tape anchor at the top.
Apply the two-finger rule: you should be able to slide two fingers under the top edge. A too-tight bandage shows itself as swollen or cold toes, obsessive chewing at the wrap, or a dog gone unusually quiet or restless. Loosen it immediately if you see any of these.
Change the bandage daily, and change it early if you see strike-through blood, moisture, odor, or slippage. Keep it dry: a boot or a plastic bag works for trips outside, and comes off the moment you're back in.
For licking, a recovery cone outperforms bitter sprays on a pad, because a determined tongue defeats a flavor deterrent every time.
In the field, improvise. A clean sock secured with self-adhesive wrap will hold long enough to get your dog to the vehicle.
Healing Timeline and What Normal Looks Like
Will a cut pad heal on its own? A superficial scrape usually will, with basic care. Deeper injuries are slower and less forgiving. Pads rebuild only from intact pad tissue at the wound's edge; skin from the surrounding haired leg cannot substitute for pad tissue.
The healed pad comes back as firm scar rather than its original texture, and re-injury is common in the first weeks.
Complications also stretch the calendar. In the same study of 120 pad injuries, short-term complications occurred in about a quarter of dogs, and when major complications developed, healing took a median of 12 days longer.
The encouraging finding: the study identified no lasting disability once wounds closed. Your veterinarian can give you a realistic timeline for your dog's specific injury tier.
Restrict activity until the pad has fully closed. Leash walks only, short and on soft surfaces, no running or rough terrain. Choose grass over gravel, and keep the healing pad off sand, salt, and hot pavement.
At every bandage change, check for infection: pain that increases rather than fades, swelling above the wrap, odor, discharge, heat, fever, or lethargy. And re-evaluate even a quiet wound if it shows no improvement after three to four days or keeps re-opening.
When Home Care Ends and a Vet Visit Starts
Thresholds, so you never have to guess.
Go now:
Bleeding not controlled after 10 to 15 minutes of proper pressure
A gaping or flapping pad
An embedded object
Exposed tissue or bone
No weight-bearing after the first hour
Pale gums, weakness, or collapse
Same day:
Any full-thickness cut through the pad
Any puncture wound
Any wound needing more than a simple wrap
Any burn or chemical exposure
At the clinic, expect sedation for a thorough flush, then possibly sutures or tissue adhesive. Pad sutures fail more often than skin sutures because every step loads the repair, so your vet may add a splint or protective bandaging, plus antibiotics and pain control as they judge appropriate.
Report what caused the injury, how long it bled, what you applied, and whether you removed any debris. Everything you did in the field falls under one heading: stabilization buys transport time. It does not replace the visit.

Building a Paw-Specific First Aid Kit
Think of this checklist as what one paw injury actually consumes, because a single incident runs through most of it.
Wound and dressing: Non-adherent pads, 4x4 gauze, rolled gauze, self-adhesive wrap, medical tape, sterile saline
Bleeding control: A hemostatic spray or styptic powder, with the trade-offs covered above
Tools: Blunt-tip scissors or trauma shears, a hemostat or forceps, gloves, tweezers
Protection: A sized boot or protective sleeve, and a recovery collar
Our broader guide to what belongs in a pet first aid kit covers the full household version; this list is the paw-specific core.
Assembled options exist because these items get used together in one incident. Our K9 Trauma First Aid Kit sits at the fully stocked end of that spectrum, built for working, sporting, and field dogs, and it includes emergency oxygen for shock and respiratory compromise rather than for the wound itself. The K9 EMS and trauma kit collection covers the range between a home kit and that one.
Placement matters as much as contents, because a paw injury nearly always happens away from your supplies. Keep one kit at home, one in the vehicle, and bleeding control on the trail. The HemoSEAL spray with a stretch leash and carry pouch puts that last piece on the leash you're already holding.
Check saline and adhesive wraps annually and restock anything opened.
Preventing the Next Paw Injury
Prevention follows the causes. In summer, run the seven-second test: press the back of your hand to the pavement, and if you can't hold it there for seven seconds, it's too hot for pads.
Washington State University's veterinary college reports asphalt in direct sun reaching roughly 125°F when the air is only 77°F, figures drawn from human burn research on surface contact. In winter, rinse paws after walks on ice-melt chemicals and watch for frozen crust that slices webbing.
Terrain hazards are the year-round version: broken glass in urban parks, sharp gravel, sticks, agricultural stubble, and lava rock or slickrock on trails.
For active dogs, conditioning and protection each have a lane. Build trail mileage gradually so pads toughen, and use boots for terrain no pad conditions to, like sharp scree or hot rock. After every off-leash outing, check all pads including the carpal pad and between the toes.
Working dogs run this risk at scale. Search and rescue dogs show the highest injury frequency among working dogs, with pad and digit injuries near 10% of the total, and among detection dogs deployed to the Camp Fire, 43% sustained wounds, many of them pad injuries from hidden sharp objects. Field kits are standard equipment in those settings for a reason.

Grade It, Wrap It, Get to the Vet
The framework holds in every scenario this piece covers. Grade the cut by depth and tissue damage, never by blood alone. Control the bleeding with patient, unbroken pressure. Clean with saline, wrap above the carpus, and match the tier to its action: home care, same-day vet, or emergency now.
A paw injury rarely gives notice, and it rarely happens near your supplies. The owner who has graded the wound, stopped the bleed, and wrapped the paw before reaching the clinic has done everything the field asks. Your veterinarian handles the rest.