

The Difference Between Palliative Care and Hospice for Dogs
To decide if palliative or hospice care is right for a dog, a thorough vet evaluation is crucial. This involves diagnostic tests, imaging, and possibly specialist consultations, providing accurate ...

What Medications Do Veterinarians Prescribe For Collapsed Trachea in Dogs?
Collapsed trachea is a common condition in dogs, especially in small breeds like Chihuahuas, Pomeranians, and Yorkies. This condition occurs when the tracheal rings, which are normally firm and rou...

Preventing Heatstroke: How to Keep Pets Cool in Hot Weather
Keeping your pets cool during hot weather is crucial for their safety and well-being. As temperatures rise, it's essential to monitor your pets closely and take proactive measures to prevent heatst...

Protecting Your Pets from Wildfire Smoke
As wildfires worsen due to climate change, protecting pets from smoke is crucial. This guide will help ensure your pets stay safe and healthy during wildfires.
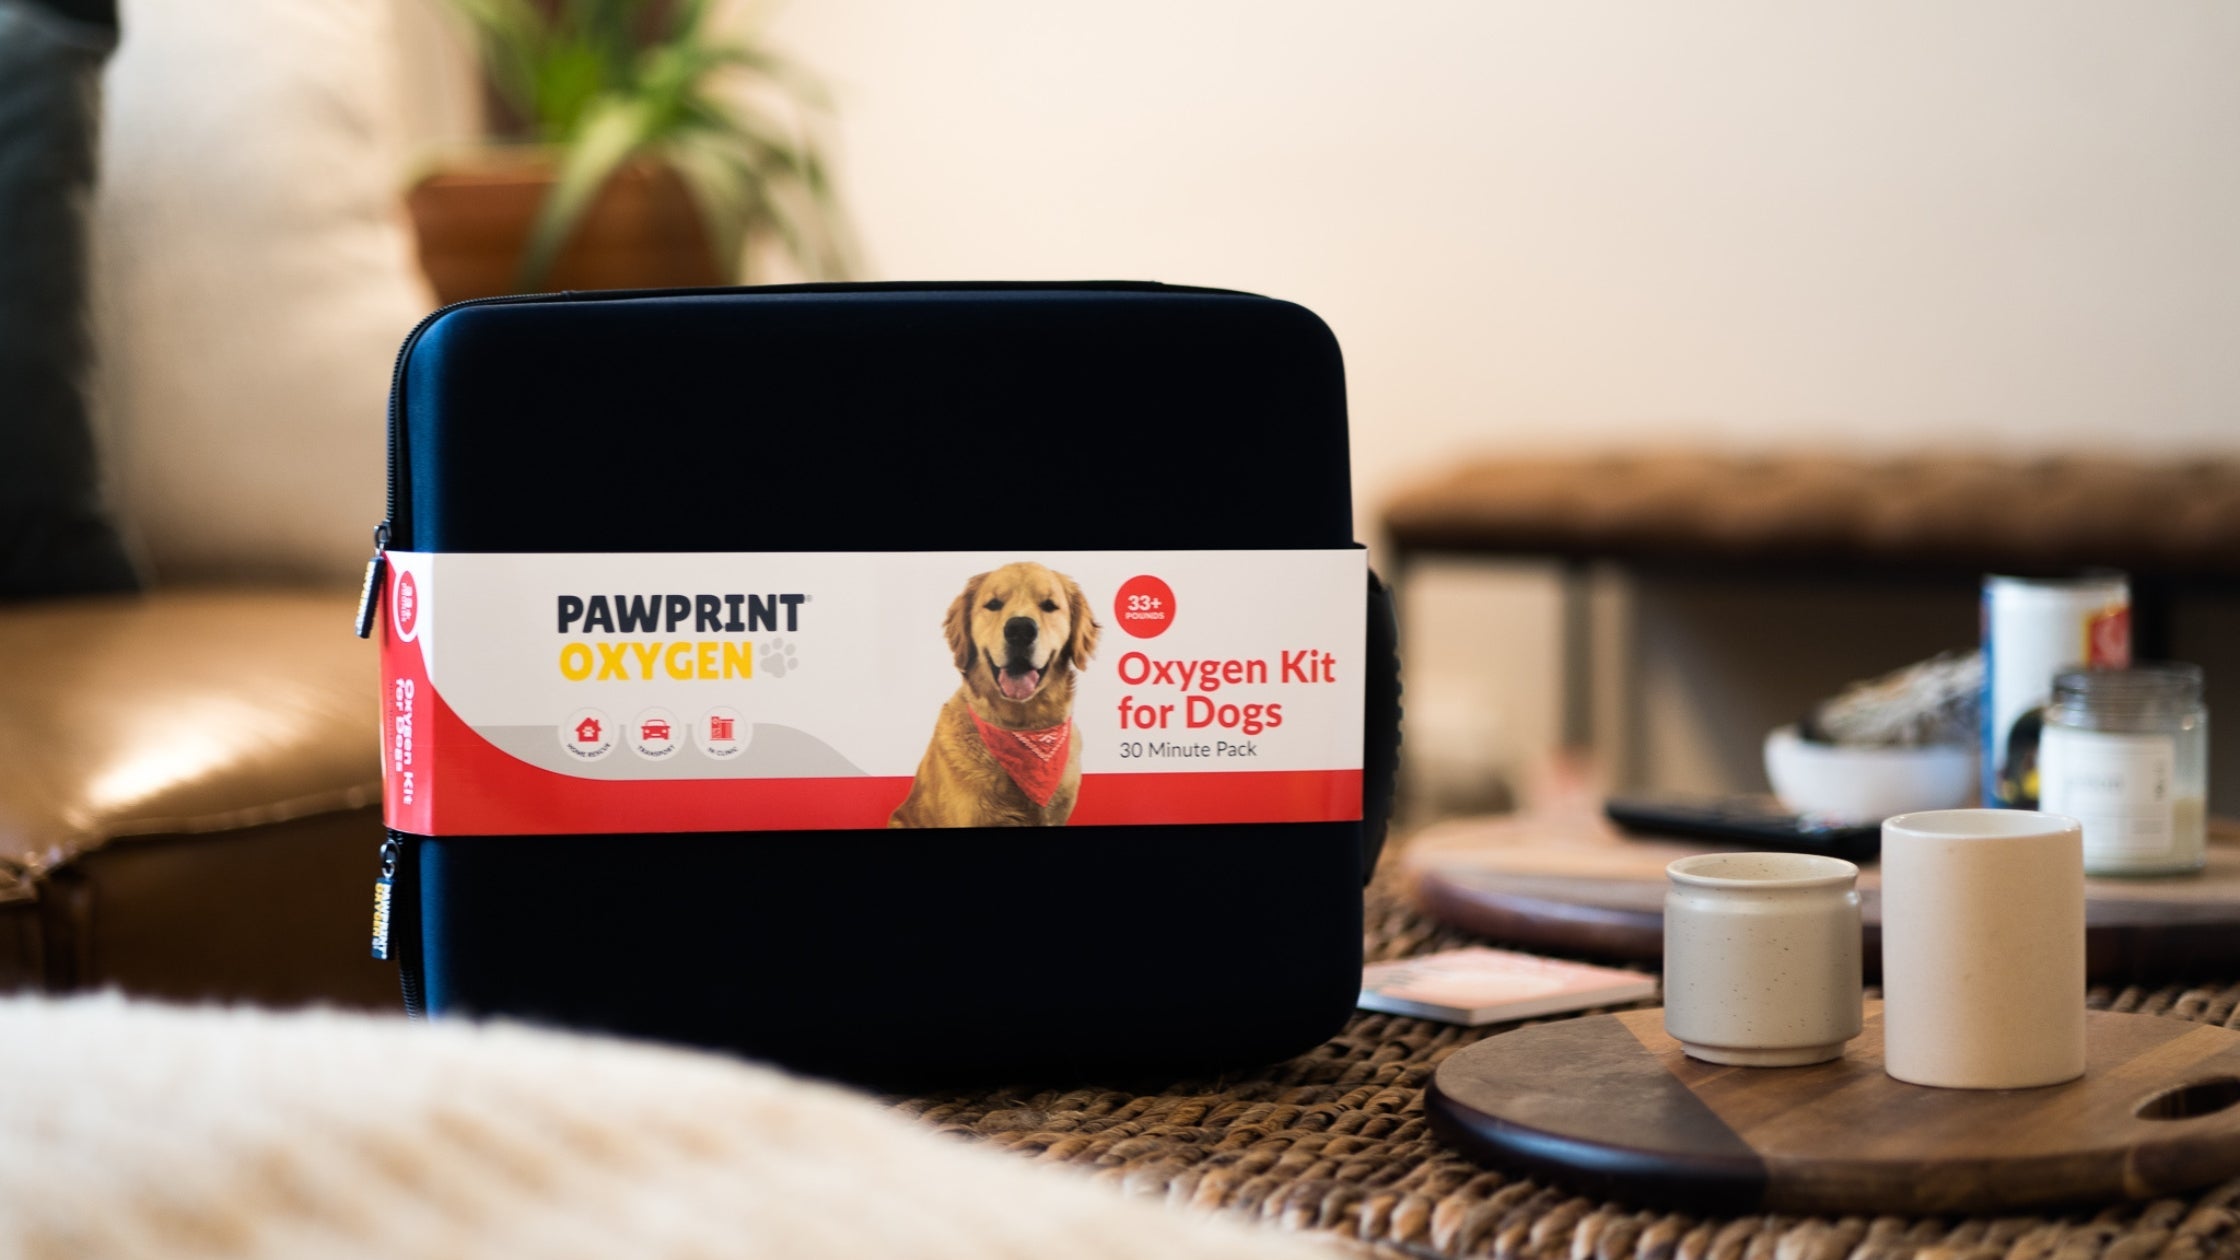
My Pawprint Oxygen Kit has Been Delivered, What's Next?
After your Oxygen Kit has been delivered, what do you do next? We have a step by step guide about each component and how to set up the new kit for your pet!

Portable Oxygen Solutions for Veterinarians
In this article, we'll explore portable oxygen solutions for veterinarians, including their applications, benefits, and considerations for use. We'll discuss how portable oxygen canisters have enha...

How to Choose The Right Pet Oxygen Cage
Choosing the right pet oxygen cage, tent, or chamber for your dog or cat can be challenging. Pet oxygen cages, tents, and chambers are used to administer oxygen to animals - let's find you and your...
Recent Blog posts
The Difference Between Palliative Care and Hospice for Dogs
To decide if palliative or hospice care is right for a dog, a thorough vet evaluation is crucial. This involves diagnostic tests, imaging, and possibly specialist consultations, providing accurate ...
What Medications Do Veterinarians Prescribe For Collapsed Trachea in Dogs?
Collapsed trachea is a common condition in dogs, especially in small breeds like Chihuahuas, Pomeranians, and Yorkies. This condition occurs when the tracheal rings, which are normally firm and rou...
Preventing Heatstroke: How to Keep Pets Cool in Hot Weather
Keeping your pets cool during hot weather is crucial for their safety and well-being. As temperatures rise, it's essential to monitor your pets closely and take proactive measures to prevent heatst...